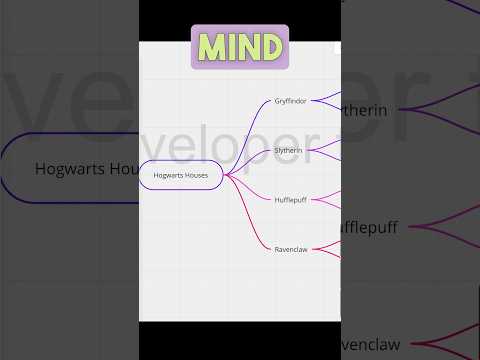
This app shows how to import data from a CSV file and create a mind map on a Miro board.

- Included Features
- Tools and Technologies
- Prerequisites
- Associated Developer Tutorial
- Run the app locally
- Folder Structure
- Contributing
- License
Watch the video below for a demo, code walkthrough, and other ways to use use mind maps in Miro.

Watch the short video (48 seconds) below to gain a quick overview of using the app and other ways to use mind maps in Miro.
- You have a Miro account.
- You're signed in to Miro.
- Your Miro account has a Developer team.
- Your development environment includes Node.js 14.13 or a later version.
- All examples use
npmas a package manager andnpxas a package runner.
To view a more in depth developer tutorial of this app (including code explanations) see the Create mind map from CSV tutorial on Miro's Developer documentation.
- Run
npm installto install dependencies. - Run
npm startto start developing.
Your URL should be similar to this example:http://localhost:3000 - Open the app manifest editor by clicking Edit in Manifest.
In the app manifest editor, configure the app as follows, and then click save:
# See https://developers.miro.com/docs/app-manifest on how to use this
appName: CSV to Mindmap
sdkVersion: SDK_V2
sdkUri: http://localhost:3000
scopes:
  - boards:read
- boards:write- Go back to your app home page, and under the
Permissionssection, you will see a blue button that saysInstall app and get OAuth token. Click that button. Then click onAddas shown in the video below. In the video we install a different app, but the process is the same regardless of the app.
⚠️ We recommend to install your app on a developer team while you are developing or testing apps.⚠️
install-app.mov
- Go to your developer team, and open your boards.
- Click on the plus icon from the bottom section of your left sidebar. If you hover over it, it will say
More apps. - Search for your app
CSV to Mind Mapor whatever you chose to name it. Click on your app to use it, as shown in the video below. In the video we search for a different app, but the process is the same regardless of the app.
search-for-app.mov
.
├── src
|  ├── example-data // Example CSV data
│  ├── assets
│  │  └── style.css
│  ├── app.tsx     // The code for the app lives here
│  ├── index.ts    // The code for the app entry point lives here
│  └── utils.ts    // Utilities for loading CSV files
├── app.html       // The app itself. It's loaded on the board inside the 'appContainer'
└── index.html     // The app entry point. This is what you specify in the 'App URL' box in the Miro app settings
If you want to contribute to this example, or any other Miro Open Source project, please review Miro's contributing guide.