Week 2 Notes
Now that we have a sense of how a basic server works, we're going to work on the files we serve. We won't be doing much in Node and Servi; we're going to turn our attention to HTML and CSS.
NOTICE ITP Residents Sam Slover and Katie Adee will be doing a help session this week on HTML & CSS. If you're interested in attending, fill out this doodle and let them know when you are available. They will choose a time for the session when the most people can attend.
The only thing we'll need our server to do this week is serve static files. In Servi, that's basically one line of code:
serveFiles("nameOfFolder");Where "nameOfFolder" is a folder where you'll store the HTML, CSS, and images you want to serve. For a step by step example, see the code sample in the repo.
Another difference this week is we're actually going to put our stuff on the web! That means setting up a server on a Digital Ocean account, the process for which you should have started last week. If you haven't completed the set-up yet, refer to the Digital Ocean Set-up page on this wiki.
As you'll see in the Digital Ocean tutorial, there are two ways to connect to your server: (1) The command line (aka Terminal, aka ssh) and (2) FTP, using Cyberduck or a similar program. You'll use the command-line when you need to run code on the server side, such as we did locally in Terminal last week, with node server.js to start the server.
When you want to put files on your Digital Ocean server, you'll use FTP, which as you probably remember stands for File Transfer Protocol -- this is the program you use when you want to transfer a file from your computer to a remote location or vice versa. Cyberduck is an FTP program the way Outlook is an email program -- it's one of many available programs that let you connect to a certain protocol.
We'll use Cyberduck to upload both our server-side node (Javascript) files and the files that will be served to the browser, which will be HTML, CSS, and possibly some images. In future weeks, we'll write Javascript for the client side as well.
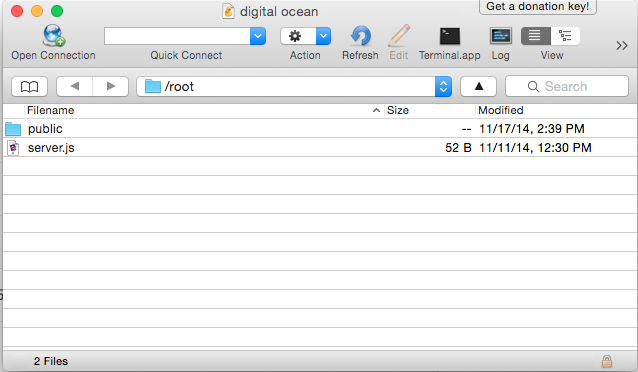
On your home directory on digital ocean, you will start with one node file, likely called server.js (though you can call it anything) and one directory to store your HTML & CSS files, likely called public (again, the naming is up to you). It's a good idea to put at least one html file in your public directory so you can test. To make things easy, call it index.html.
Once those two things are in place, log in to your Digital Ocean server with Terminal. (Refer to Digital Ocean Set-up for how to log in with Terminal.)
Type ls to list the files in your directory. You should see the same files as you see in Cyberduck.
Node comes installed on the Digital Ocean server, so we'll just need to install servi there. On the command line, type:
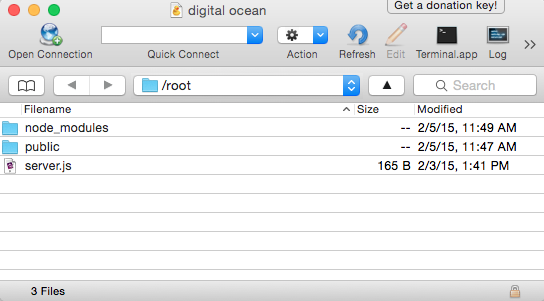
npm install servi
This will create a folder in your current directory called node_modules. This is the place where node will look to find the servi module. You don't need to do anything with it -- just make sure that it's in the same directory as your server.js file.
Now you're ready to start the server. Make sure you are in the directory that contains the server.js file, then type the command node server.js. You should see a message like, "Server has started on port 3000".
The default behavior of Node is to kill the script when you quit Terminal or log off of your remote server. To keep the server up and running, you can use a program called forever. Refer to the Servi Set-up instructions for how to use forever.