Netlify admin (https://app.netlify.com/sites/radim-smilek/settings/general)
Github admin (https://github.com/settings/applications/1321742) Client ID: 027002388c2370394689 Client Secret: d683945b7ee14da3164d094f39da853cc46c4f94
Homepage URL (https://radim-smilek.netlify.app/)
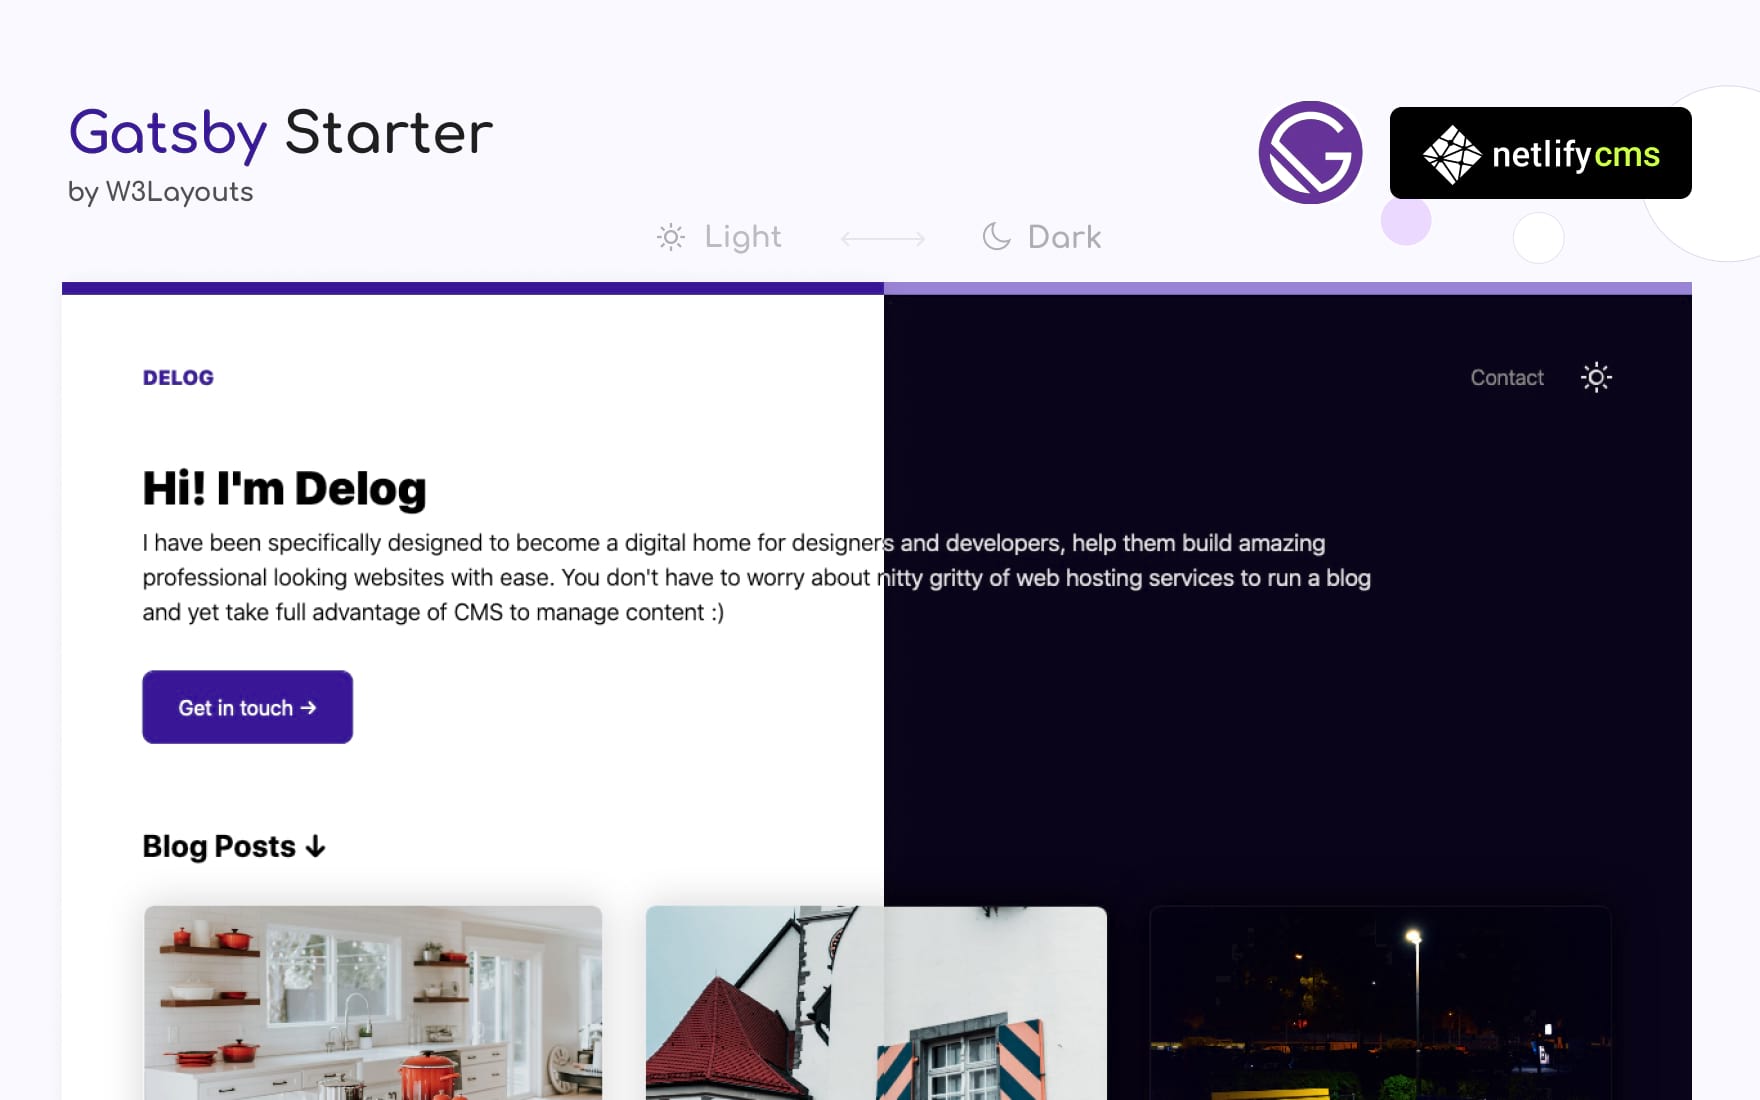
This simple website built with GatsbyJS and Netlify CMS. Deploys on netlify with single click. This Starter is sponsored by W3Layouts.
Install this starter locally: (assuming you already have NodeJS and GatsbyJS installed)
gatsby new gatsby-starter-delog https://github.com/W3Layouts/gatsby-starter-delogInstructions also available at W3Layouts Delog Launch Article.
- Built with GatsbyJS and Netlify CMS
- Option to Add, Edit, Update and Delete posts via Netlify CMS
- SEO friendly - Option to Add meta description
- In-built contact form powered by W3Layouts
- Comes with dark mode
- Once you hit "Deploy to Netlify"
- Connect Github
- Enter Repository Name
- And your site starts build process. After the build process your website is live
You need to change repo URL to your own repo at /static/admin/config.yml, for example username/repo-name
- Goto Github Developer Settings
- New OAuth
- Enter Application name
- Homepage URL as Netlify URL
- And Authorization callback URL to
https://api.netlify.com/auth/done) - Once Client ID and Secret token is generated configure same in Netlify Access Control as described.
- Goto your Netlify site admin
- Goto Access Control > OAuth then Install Provider you need to select provider as
Githubas addClient IDandSecret - Your Netlify CMS is ready. Goto you netlify site URL and append
/admin/. for exampleexample.netlify.com/admin/, You will see login with Github button.
- Once logged in you will find all the blog post listed here.
- You can create, edit, update and delete like any CMS
Inside you Netlify CMS admin, Settings > Config or you can go to site-meta-data.json. Here you can edit following details
- Title
- Description
- Site URL
- Homepage Title
- Homepage Description
- To get the Contact form working. you need too add a form at W3Layouts forms. Follow the steps How to enable W3Layouts Contact form instructions to create a form then your contact form is all set.
Change trackingId in gatsby-config.js at gatsby-plugin-google-analytics plugin
I hope you will build a great website with Delog. If you like it please spread the word, Feel free to contribute and raise a pull request :)
For issues,feedback on enhancement or sharing your new awesome website built with delog. Create New Issue Here
We are maintaining future task in Github Project, even though most changes are instantaneous. We try keep them posted here.
All notable changes to this project are listed here.
- Custom 404 page.
- Site name will be appended in blog posts and contact page.
- Reordering fields in Netlify CMS for better flow of post creation.
- Validation for path in Netlify CMS
- Settings page in Netlify CMS to customize site meta data.
- Site meta data is pulled from
site-meta-data.json. maintained via Netlify CMS
gatsby-plugin-sitemapCreates a sitemap for your Gatsby site in production.
- Changelog improvements
- Comments on
gatsby-config.js - Comments on
static/admin/config.yml
gatsby-plugin-offlinedrop-in support for making a GatsbyJS site work offline and more resistant to bad network connections.gatsby-plugin-manifestconfigures GatsbyJS to create a manifest.webmanifest file on every site build
- GatsbyJS Increment builds with Netlify deployment
- Dark mode compatibility and toggle for user preference
- Launch of GatsbyJS and Netlify CMS based starter
gatsby-starter-delog


